in this Tutorial we will learn about Remote Management
Remote Management Service is one of the most important part pertaining to administration of Windows Server 2012. Administration of servers is performed through Windows Management Instrumentation. WMI instructions can be sent over network WinRM “Remote Management”.
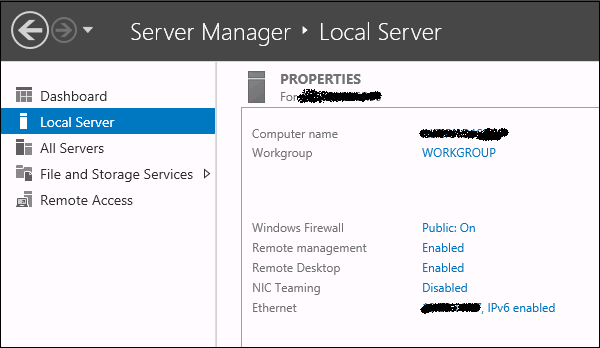
By default this utility is enabled, you can check it by going to Server Manager → then click on Local Server as shown in the following screenshot.
If in case it is disabled, you can enable it by Opening PowerShell and then typing EnablePSRemoting as shown in the screenshot given below.

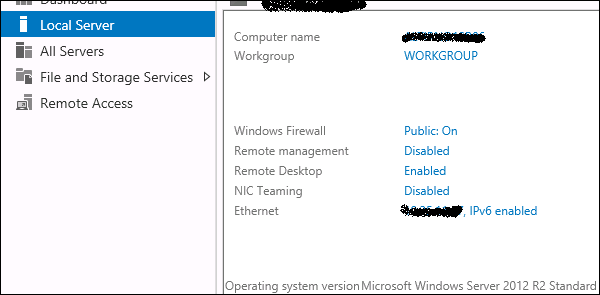
There is another way to enable it – Click on “Server Manager” → Local Server, then ENABLE Remote management.
Adding a Server for Remote Management
To add other servers for remote management, follow the steps given below −
Step 1 − Server Manager → Dashboard → Add other servers to manage.

Step 2 − If the servers are joined to the domain, you add the select option “Active Directory“, in my case they are not joined, so I selected the second option “DNS” → In the search Box, I added the IP of the server that has to be managed → click on a small arrow → OK.

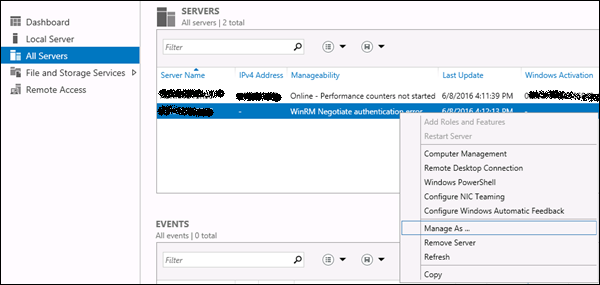
Step 3 − Go to Server Manager → All Servers, you will see the server that you have added. As my server is in the Work Group, I have to right click and click on – “Manage As” as shown in the following screenshot.
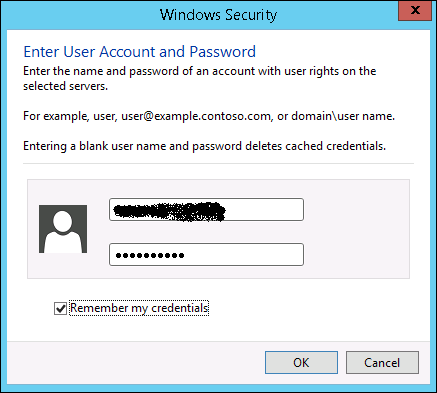
Step 4 − Enter the credentials of the remote server as follows and then → OK.
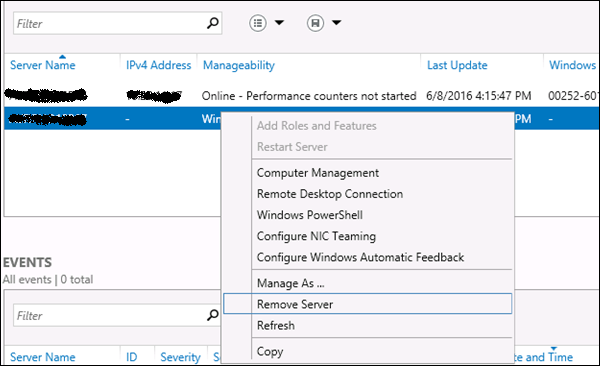
To remove a managed server, Right Click on server → Remove Server.
